It is very easy to create approval workflows in Coda. Here’s a quick guide on how to do it in simple steps:
- Inside your Coda doc, find the column you want to use and click its corresponding 'Menu' button.
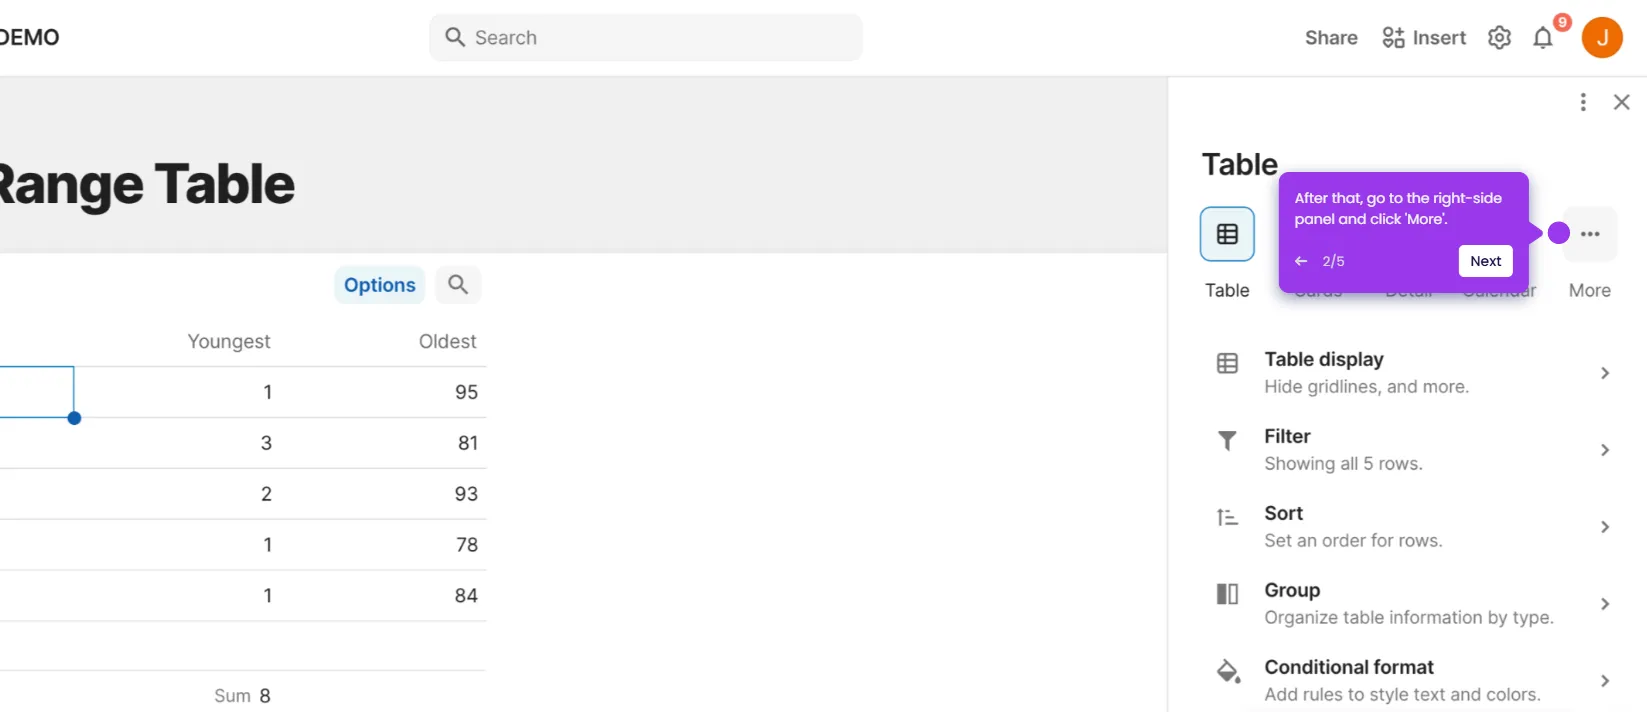
- After that, choose 'Column Type' from the list of options.
- Hover your mouse cursor over the 'Select List' option, then tap 'New'.
- One by one, click the default options and replace them with the actual label you want to use for the status.
- Subsequently, click the 'Color Picker' button next to it to specify your preferred style.
- Repeat the same series of steps until all labels are properly customized. Don't forget to add an option for the "Approved" status.
- Finally, an approval workflow will be created and added to your Coda doc. Share it with your team members and let them know the process.


